Homemade Paneer Tikka BBQ
A Vegetarian Star for Your Summer BBQ Table
There is something special about making BBQ at home. It doesn’t have to be complicated. It doesn’t have to be perfect either. For me, some of the best BBQ comes from simply looking at what I have in the kitchen. I mix it with the right Pakistani spices. Then I put everything on the grill.
After all those BBQ meat items are on the grill, let’s take a little break and make one of my children’s favorite vegetable options.
This Homemade Paneer Tikka BBQ is one of those easy recipes.
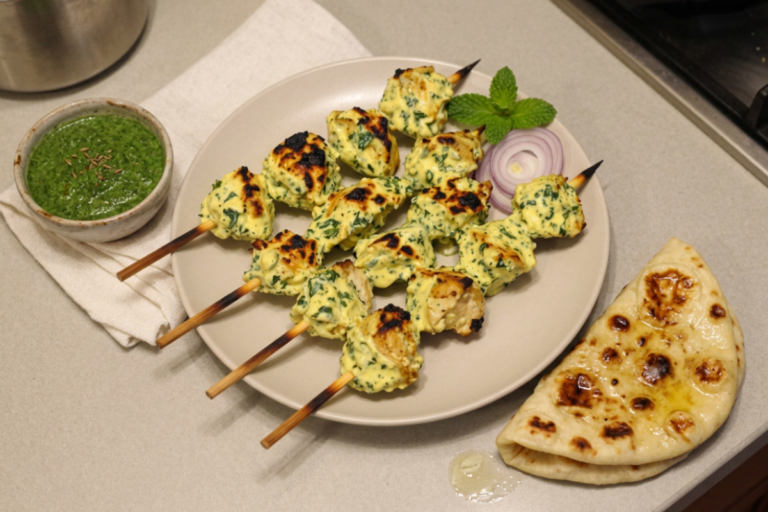
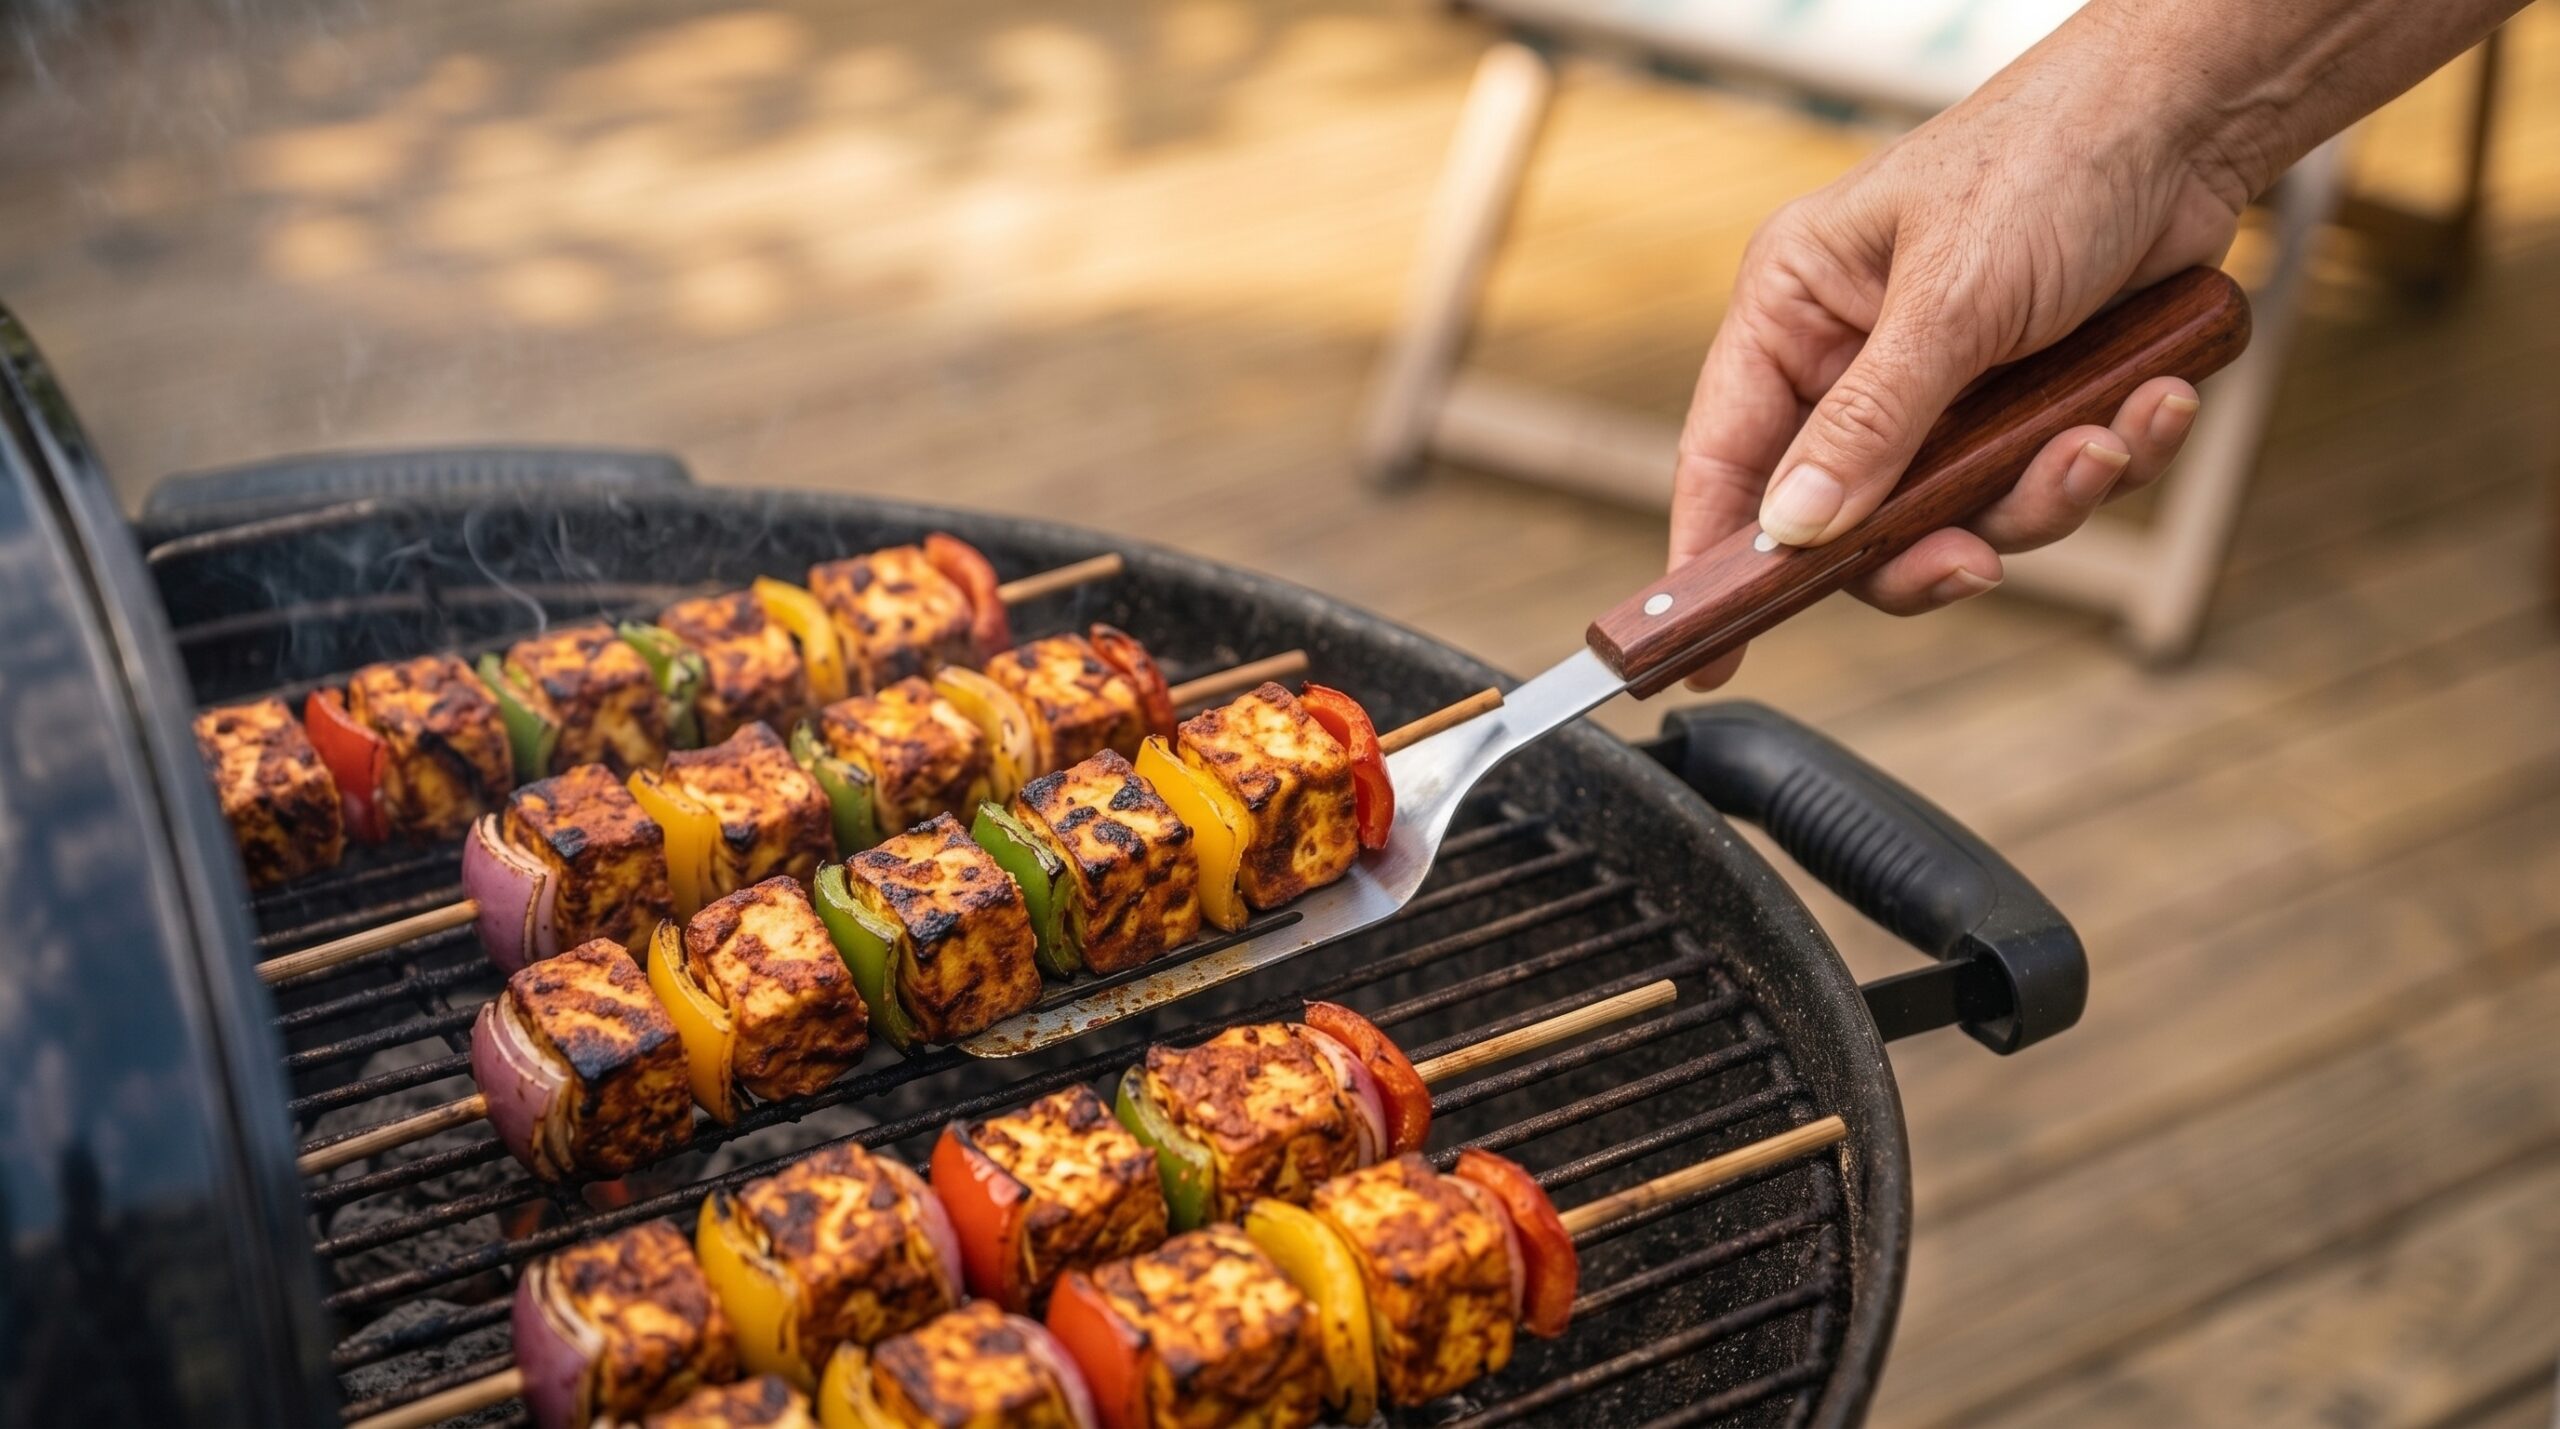
Soft, creamy homemade paneer gets coated with fresh lemon juice, ginger/garlic, and tandoori masala. Then it goes on the grill with colorful bell peppers and onion. We grill it until the edges turn lightly charred and smoky. The tandoori masala gives the paneer that beautiful BBQ color. It also gives it that familiar Pakistani flavor, without needing a long list of ingredients.
And here is the best part: you don’t need to measure every vegetable exactly.
I usually use onion and colorful bell peppers. But the amounts can easily change, depending on what I have available. Sometimes I have a little more onion. Sometimes there’s an extra bell pepper sitting in the fridge. That’s perfectly fine. This is homemade BBQ, not a restaurant kitchen, where every skewer has to look exactly the same.
I make the paneer at home using whole milk. For this recipe, I start with 4 liters of whole milk. Once the paneer is ready and cut into pieces, the rest comes together quite simply, with lemon juice, garlic, and tandoori masala.
These Homemade Paneer Tikka BBQ skewers are colorful, flavorful, and fun to eat. They make a wonderful vegetarian addition to a family BBQ.
Whether you’re having a summer BBQ with family, or just want something different for a weekend meal, these paneer tikka skewers are easy to prepare and fun to grill.
How I Make Paneer at Home
For this recipe, I start with 4 liters of whole milk to make my own paneer at home. This amount works well for us. We are a family of 6, and it gives enough paneer for a good BBQ platter, with a little extra to snack on while grilling.
Making paneer at home is simple. Once you try it, you may never want to buy it from the store again. Fresh homemade paneer is softer and creamier. It also holds up so much better on the grill, compared to the store-bought kind, which can sometimes turn rubbery.
A Little Story Before We Begin
In our house, BBQ nights were never just about meat. My mother always made sure there was one paneer platter on the table too. There was always someone who couldn’t eat meat that day, or simply wanted something lighter. I remember standing next to her, watching her turn the paneer cubes gently on the grill, so they wouldn’t break. And I remember stealing one straight off the skewer, before it even reached the table.
Now when I make Paneer Tikka BBQ for my own kids, I see the same thing happening. Someone always sneaks a piece before it’s served. That is when I know it turned out right.
This dish is my way of bringing that same feeling to your table too. A dish everyone can enjoy together, no matter what they eat.
A Bit of History and Background
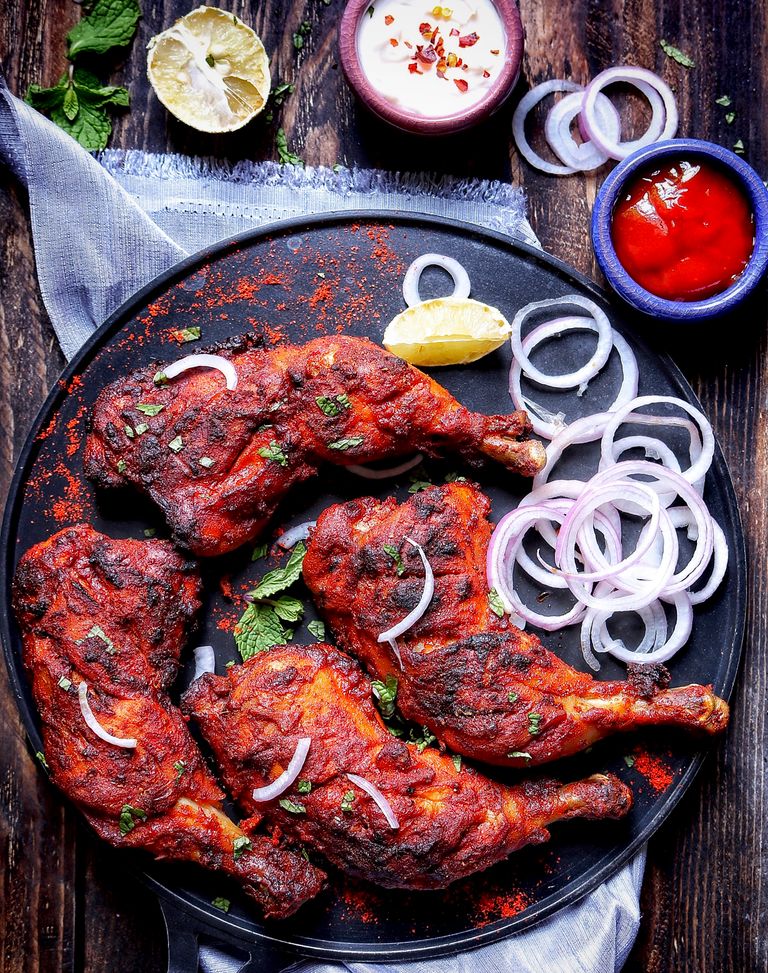
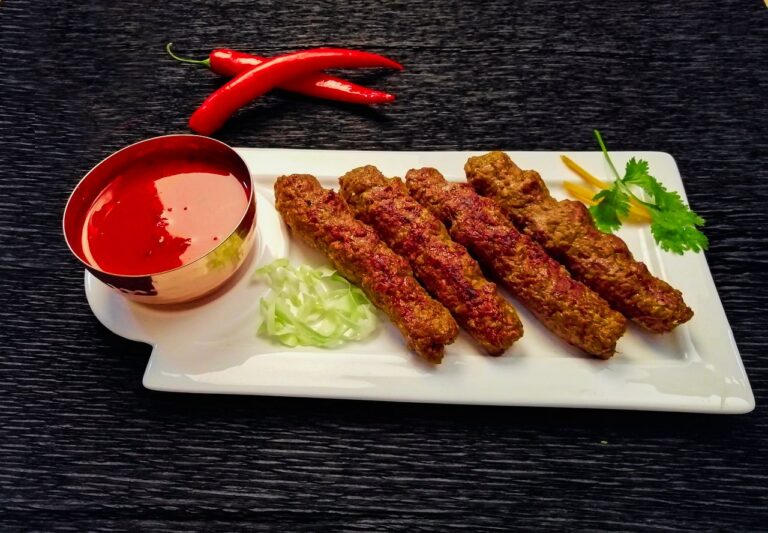
Paneer Tikka has its roots in the tandoori cooking style of the Indo-Pak Subcontinent. It’s the same style that gave us chicken tikka https://flavorfulfiestaofpk.com/chicken-quarter-leg-tikka-bbq/ and seekh kebab https://flavorfulfiestaofpk.com/beef-seekh-kabab-smoky-charcoal-bbq-perfection-from-pakistan/ . Paneer, our fresh homemade cheese, has been part of desi kitchens for centuries. But it was the tandoor that gave it a whole new personality. Marinated in spices, then cooked over high heat, plain paneer transforms into something smoky, charred at the edges, and full of flavor.
Over the years, this dish found its way from restaurant tandoors into home kitchens. It became part of family BBQ nights, gatherings, and weddings. And now, it’s found its way to our own backyard grills too.
Why Your Family Will Love This
- It is soft, cheesy, and mild enough for children, but still packed with spice for the grown-ups.
- No marinating overnight needed, a few hours is enough.
- It cooks quickly, so it is perfect for a busy weeknight BBQ too.
- It pairs beautifully with mint chutney, homemade butter naan https://flavorfulfiestaofpk.com/oven-baked-pakistani-butter-naan/, and a simple salad.
Health Benefits of Paneer
Paneer is not just delicious. It is also good for you and your family:
- It is a wonderful source of protein. This helps growing children, and keeps grown-ups full and satisfied.
- It is rich in calcium, good for strong bones and teeth.
- Since it is grilled, not fried, this dish stays lighter and healthier than many fried appetizers.
- Paired with colorful bell peppers and onions on the skewer, you also get a good dose of vitamins from the vegetables.
A Perfect Addition to Your BBQ Table
This Paneer Tikka BBQ proves that a vegetarian dish can be the star of the table too, not just a side option. Serve it alongside your favorite chicken and meat skewers. Watch how quickly the paneer platter empties first.
Ready to Make Your Homemade Paneer Tikka BBQ?
Below you’ll find two recipe cards to make this recipe easy to follow and save.
First is the main recipe — Homemade Paneer Tikka BBQ Skewers, with the marinated paneer, colorful bell peppers, onion, and simple BBQ grilling instructions.
Then you’ll find my Homemade Paneer recipe, made with 2 liters of whole milk. I usually make a larger batch using 4 liters of milk, but I’ve kept this recipe smaller to make it easier for new homemakers who are trying homemade paneer for the first time.
Once you learn how to make paneer at home, you’ll have a fresh ingredient you can use in so many other delicious recipes too. Homemade paneer can be used in curries, palak paneer, matar paneer, parathas, fried rice, and many other family meals.
Paneer Tikka BBQ
Ingredients
- 500 grams Homemade Paneer cut into 1 & ½ inch-cubes
- 1 Large Onion cut into chunky pieces
- 2 Colorful Bell Peppers/Capsicum cut into pieces suitable for skewering
- Fresh Lemon Juice enough to coat the paneer
- 1 tbs National Ginger-Garlic paste
- Shan Tandoori Masala as needed
- 6 Thick Bamboo Skewers soaked in water
Instructions
Prepare the paneer:
- Use your homemade paneer, preferably chilled and firm enough to handle without breaking. Cut it into chunky pieces. If you are making the paneer specifically for this recipe, follow the Homemade Paneer recipe first.
Prepare the marinade:
- In a bowl, squeeze fresh lemon juice. Add the garlic or ginger-garlic paste and mix in some tandoori masala.
Coat the paneer:
- Add the paneer pieces to the bowl and gently coat them with the lemon and spice mixture. Sprinkle more tandoori masala over the paneer until you achieve the color and level of seasoning you like.
- There is no need to make the marinade overly complicated. The combination of lemon, ginger-garlic, and tandoori masala gives the homemade paneer plenty of flavor for the BBQ.
Prepare the vegetables:
- Cut the onion and colorful bell peppers into chunky pieces that are easy to thread onto the skewers. The exact amount of vegetables does not need to be measured. Use what you have available and adjust the amount according to how many skewers you are making.
Prepare the skewers:
- Place the thick wooden skewers in a dish of water and soak them for at least 30 minutes before assembling your BBQ. This helps prevent the wooden skewers from burning too quickly on the hot grill.
- Once soaked, drain the skewers. Thread the marinated paneer cubes, onion, and colorful bell pepper pieces onto the skewers, alternating them as you go. Don't pack the pieces too tightly; leave a little space between them so the heat can reach the paneer and vegetables evenly.
Preheat the BBQ:
- Make sure your BBQ grill is hot and ready before placing the skewers on it.
Grill the paneer tikka:
- Place the skewers on the hot grill. Grill for approximately 2 minutes on each side, turning them carefully so that all sides get some heat and light charring.
Watch the cooking time:
- The total grilling time should be around 8 minutes. Keep an eye on the paneer as it cooks. Do not grill for more than 10 minutes, as paneer can become firm and dry if it is overcooked.
Look for the right finish:
- The paneer should have a beautiful tandoori color with lightly charred edges, while the onions and bell peppers should be tender with some BBQ char.
Serve:
- Remove the skewers from the grill and serve hot. They make a delicious vegetarian option alongside your favorite BBQ meats or can be enjoyed on their own as a light meal.
Notes
My Tried & Tested Products
A few simple products make this recipe easier, especially if you’re new to making BBQ at home. These are items I personally use and have tested in my own kitchen. The links below are affiliate links, which means I may earn a small commission if you make a purchase through them, at no extra cost to you. Thick Bamboo Skewers: I prefer thick Bamboo skewers for paneer tikka because they are sturdy enough to hold the paneer cubes and vegetables securely on the grill. Shop Amazon USA: https://flavorfulfiestaofpk.com/bamboo-skewers-us
 Shop Amazon Canada: https://flavorfulfiestaofpk.com/bamboo-skewers-ca
Shan Tandoori Masala: This is the tandoori masala I use for my paneer tikka—it gives the paneer that beautiful color and the familiar tandoori flavor I love.
Shop Amazon USA: https://flavorfulfiestaofpk.com/tandoori-masala-us
Shop Amazon Canada: https://flavorfulfiestaofpk.com/tandoori-masala-ca
National Ginger Garlic Paste: I keep this paste on hand for easy everyday cooking, and it adds just the right amount of ginger-garlic flavor to the paneer marinade.
Shop Amazon USA: https://flavorfulfiestaofpk.com/ginger-garlic-paste-us
Shop Amazon Canada: https://flavorfulfiestaofpk.com/ginger-garlic-paste-ca
Shop Amazon Canada: https://flavorfulfiestaofpk.com/bamboo-skewers-ca
Shan Tandoori Masala: This is the tandoori masala I use for my paneer tikka—it gives the paneer that beautiful color and the familiar tandoori flavor I love.
Shop Amazon USA: https://flavorfulfiestaofpk.com/tandoori-masala-us
Shop Amazon Canada: https://flavorfulfiestaofpk.com/tandoori-masala-ca
National Ginger Garlic Paste: I keep this paste on hand for easy everyday cooking, and it adds just the right amount of ginger-garlic flavor to the paneer marinade.
Shop Amazon USA: https://flavorfulfiestaofpk.com/ginger-garlic-paste-us
Shop Amazon Canada: https://flavorfulfiestaofpk.com/ginger-garlic-paste-ca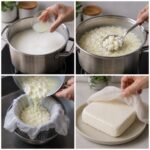
Homemade Paneer
Ingredients
- 2 liters Whole Milk (3.25%)
- 5 tbs Fresh Lemon/Lime Juice approximately, or as needed
Instructions
Heat the milk:
- Pour the whole milk into a large, heavy-bottomed pot. Bring it to a gentle boil over medium heat, stirring occasionally so the milk does not stick to the bottom.
Add the lemon juice:
- Once the milk comes to a boil, lower the heat. Add the lemon juice gradually, stirring gently after each addition.
Let the milk curdle:
- Continue stirring gently until the milk separates into soft white curds and a pale yellowish whey. If the milk has not separated completely, add a little more lemon juice.
Strain the paneer:
- Place a cheesecloth on, over the counter colander strainer basket. Carefully pour the curdled milk through the cheesecloth, allowing the whey to drain away.
Rinse:
- Rinse the curds gently with cool water to remove any remaining lemon flavor.
Drain and press:
- Gather the cheesecloth around the curds and gently squeeze out excess water. Leave in the strainer basket for an hour, if needed apply some pressure. For paneer tikka, press it enough to make it firm but still soft.
Cool and cut:
- Once the paneer is firm, unwrap it and cut it into one and a half inch cubes.
Use or refrigerate:
- Use the fresh paneer immediately, or refrigerate it in an airtight container until ready to use.
Notes
Helpful Tools for Making Homemade Paneer
A good cheesecloth is the traditional, simple way to strain homemade paneer. But if you’re looking for an easier setup, I recently came across a rectangular over-the-sink colander/strainer basket that I found quite interesting. I have an older version of this type of strainer. The links below are affiliate links, which means I may earn a small commission if you make a purchase through them, at no extra cost to you. Cheesecloth: A simple kitchen essential for straining the curds from the whey and gathering the paneer together for pressing. Shop Amazon USA: https://flavorfulfiestaofpk.com/cheese-cloth-us
Shop Amazon Canada: https://flavorfulfiestaofpk.com/cheese-cloth-ca
Over-the-Sink Strainer Basket: Place the cheesecloth inside the basket and set it over the sink to let the whey drain while the cheese curds collect inside. The rectangular shape can also help the paneer settle into a more even shape as it drains and is pressed, making it easier to cut into neat cubes later.
Shop Amazon USA: https://flavorfulfiestaofpk.com/strainer-basket-us
Shop Amazon Canada: https://flavorfulfiestaofpk.com/strainer-basket-ca